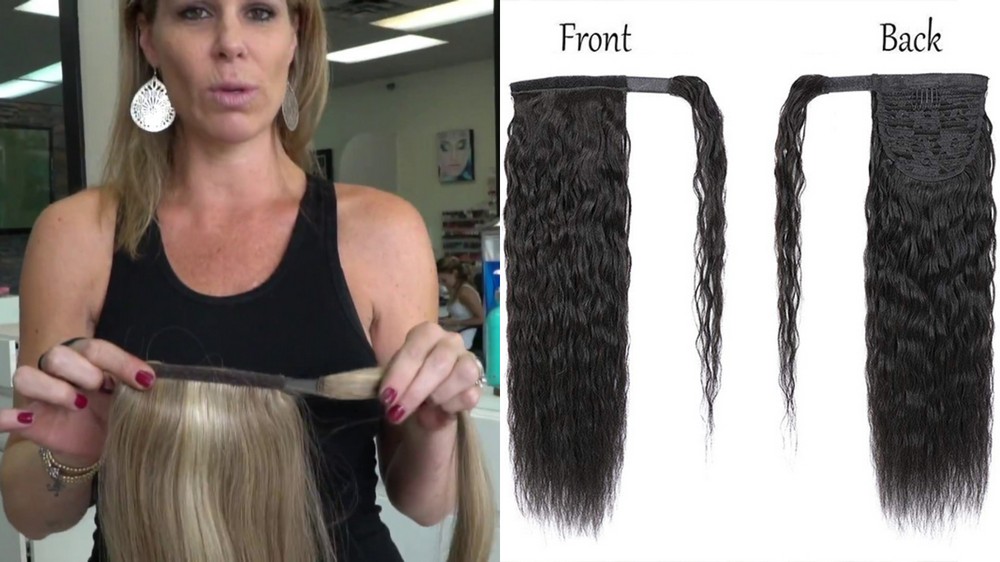
There are many types of ponytail hair extensions nowadays. You may have heard of wrap ponytails, clip in ponytails or claw clip ponytail hair extensions, etc. However, what if you have old wefts that want to change them into a simple DIY ponytail? It’s totally possible. Below are the 6 most simple steps on how to make your own ponytail hair extension. Following these guides, you will be able to make use of your old sew in weft to turn it into a lovely wrap or clip in ponytail extension.

Ponytail hair extensions
1. Step 1: Prepare suppliers
Ingredients needed are very simple:
- A sew-in weft bundle: don’t forget to make sure that the weft matches your current hair texture and color well.
- A piece of material: the recommended size is about 20 cm long and 2 cm wide.
- Scissors
- Needle
- Thread
2. Step 2: Cut the weft
The first thing to do after preparing all the ingredients is to cut the weft. This is a simple step, but one of the most important ones on how to make your own ponytail extensions.
The perfect length between 2 tips of the weft is the one that makes sure the weft will wrap your real hair ponytail well. Normally, it’s about 10-15 cm. Please make a ponytail of your own hair, and then wrap the weft around it to identify the perfect size. After you mark a suitable point, you can cut the weft and move to the next step.

How to make your own ponytail extension
3. Step 3: Sew the hair
Then how to make a hair extension ponytail? Technically you just need to sew the piece of material (20 cm long and 2 cm wide) which you prepared onto the weft. By doing this, you created a way of attaching the weft onto your real hair like a ponytail.
Please be careful while using the need and thread. In addition, don’t forget to sew the fabric neatly, so that the final item does not look unnatural on your head.
4. Step 4: Sew on the clip
This step of how to make your own ponytail extensions is not compulsory. If you don’t sew a clip on the weft, you can tie the ponytail extensions on your real hair bun. This also looks natural as the tie just looks like a normal hair tie. You can also cover it again with a real cute hair tie as well.
However, adding a clip will help your ponytail extension stay more firmly. The sewing is simple as well. You can sew or glue the hair clip (the one specifically used for clip in hair extensions) onto the material, in the middle of the hair weft line and that’s done.

How to make your own ponytail extension
5. Step 5: Cut hair edge and fix the style
This is nearly the final step of how to make a ponytail hair extension. You need to brush the weft and check the clip before trying on.
You can also style the ponytail extension as well. Even when you have straight hair, you can also style your ponytail into curly wavy textures. It will look cute, as long as the colors of the real hair and the hair extensions are blending well and matching with each other.
6. Step 6: Try the ponytail extension on
The final step is trying on the ponytail hair extension that you have just made. Then, you can check and make any small change to the extension to make it look better. For example, you can trim or restyle the hair as you prefer.

Try on your own ponytail extension
And that’s 6 simple DIY steps of how to make your own ponytail extension! We hope that our sharing is helpful. Please stay tuned for more tip sharing from us!


No comments yet